Weather Based Smart Irrigation Controllers
Shenzhen Power-Tomorrow Actuator Valve Co., Ltd.- Usage:Irrigation
- Type:Irrigation System
- Power Source:Electricity
- Drainage & Irrigation Mode:Sprinkler Irrigation Equipment
- Pump Type:Turbine Pump
- Material:Metal
Base Info
- Model NO.:QT-05-N,L,G
- Ground Drainage and Irrigation Machinery Type:Pumping Irrigation
- Certification:CE
- Condition:New
- Application Field:Agriculture, Livestock, Aquaculture, Fisheries, Forestry
- Trademark:QOTO
- Origin:China
- HS Code:8501310000
- Production Capacity:10000PCS,Year
Description
Basic Info.
Model NO. QT-05-N/L/G Ground Drainage and Irrigation Machinery Type Pumping Irrigation Certification CE Condition New Application Field Agriculture, Livestock, Aquaculture, Fisheries, Forestry Trademark QOTO Origin China HS Code 8501310000 Production Capacity 10000PCS/YearProduct Description
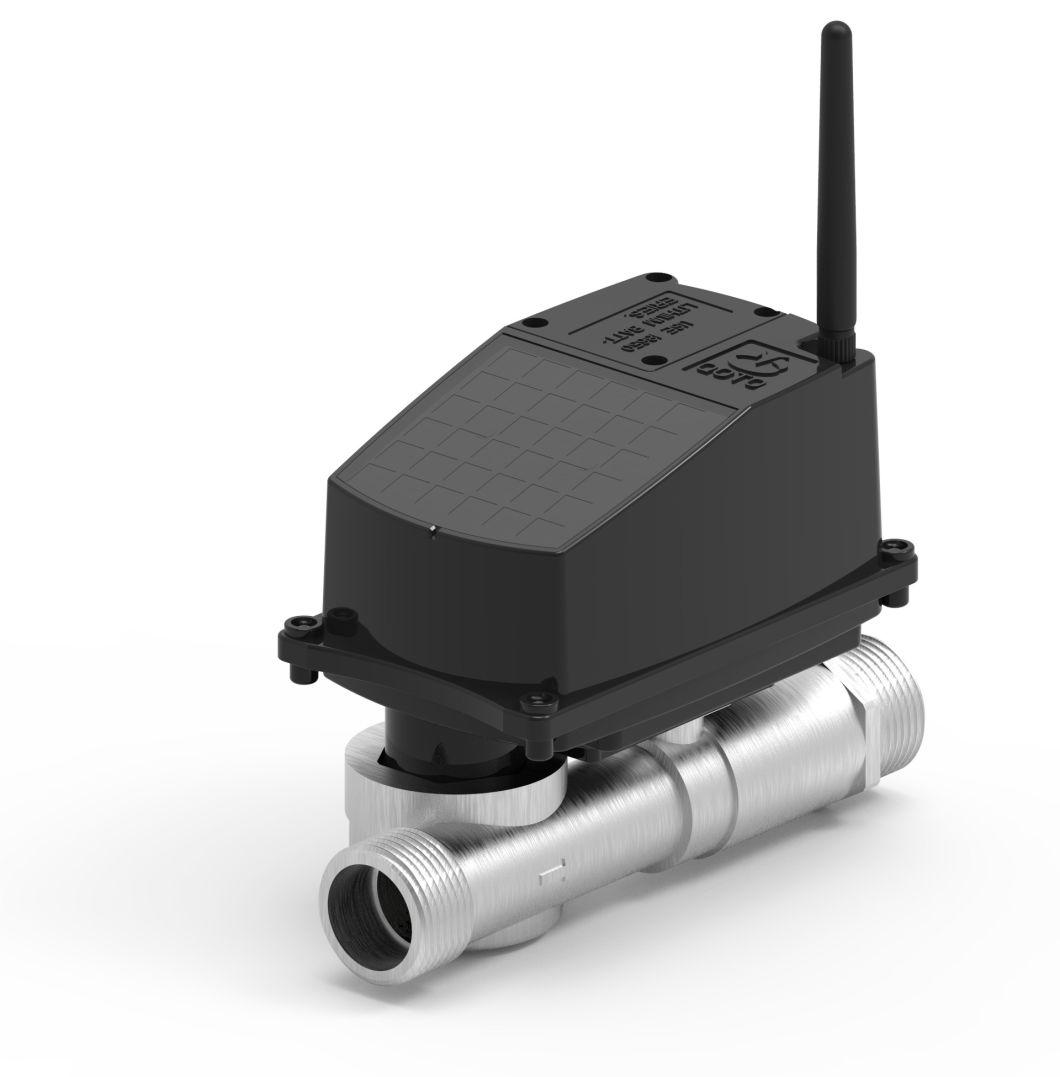
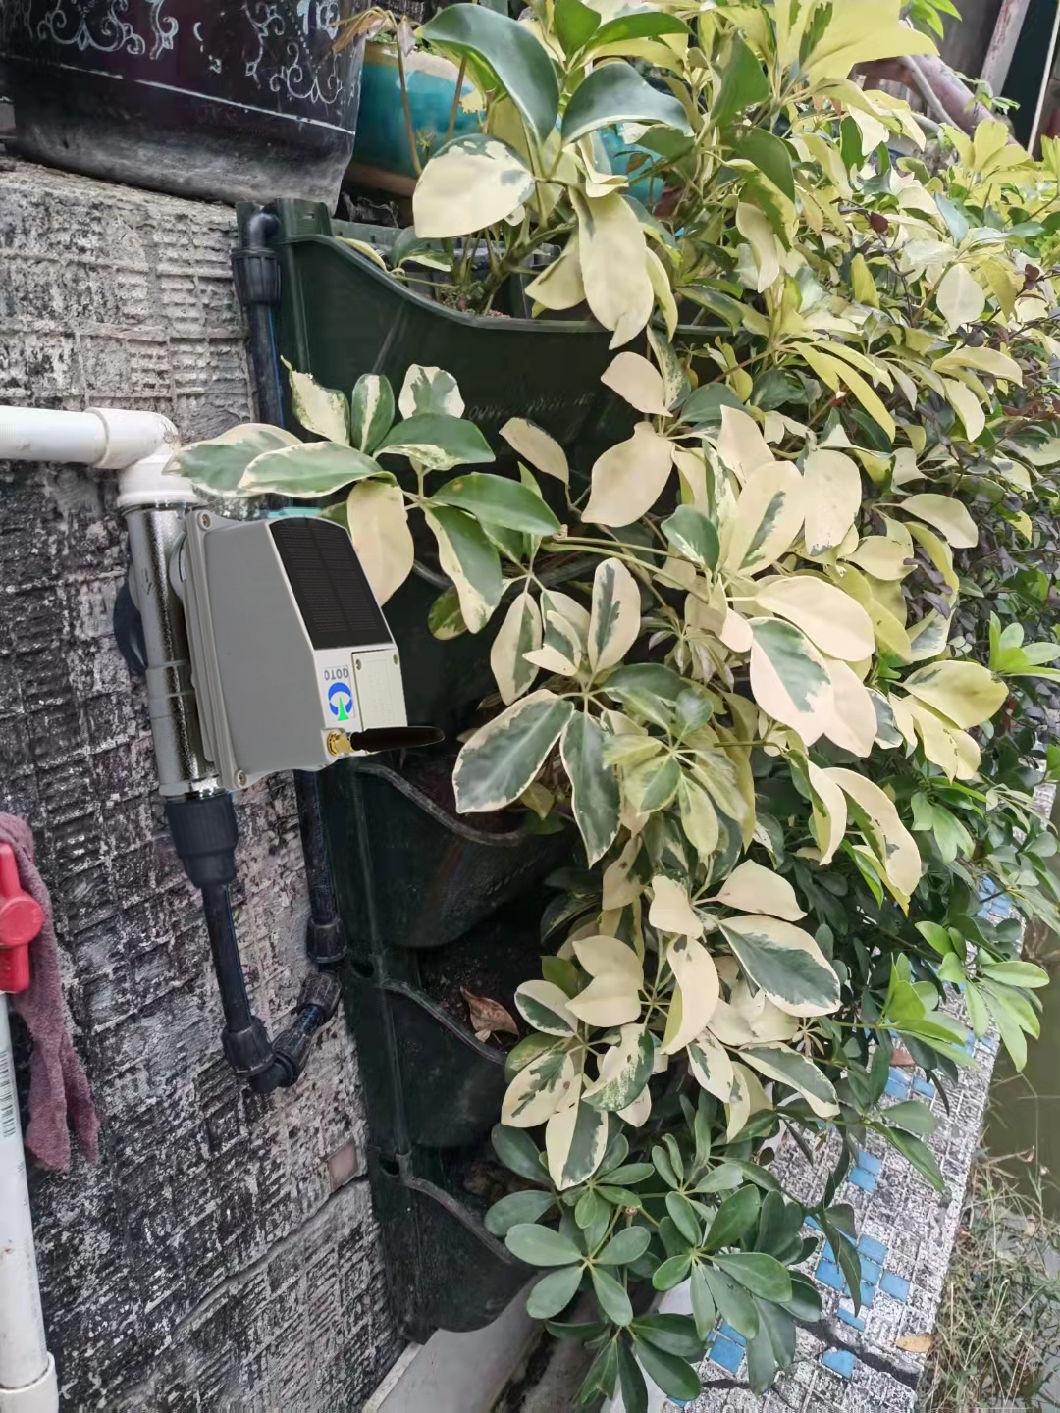
How To Set up QOTO Smart Irrigation Controllers And A Simple Drip irrigation systemStep 1: Set up the Irrigation Controller
Attach the controller inlet to the outdoor faucet/spigot turning clockwise - hand tighten only. From the controller outlet connect a drip irrigation system or a garden hose.
 Step 2: Filter
Install a filter so your emitters or drippers don't become clogged.
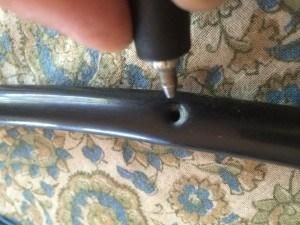
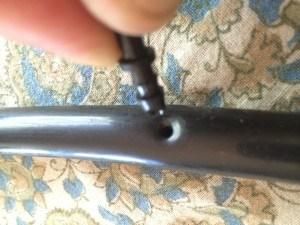
Step 3: Reduce Pressure
Most household water systems are at 40-80 pounds of pressure, but you would need the pressure for your drip system at about 25 pounds of pressure.You can open the valve by small angle to reduce water pressure
Step 5: Plan Your System
Keep in mind that for each 1/4 inch branch line with 1/2 gallon per hour emitters, you can only run:
up to about 19 feet of 1/4 inch drip line with emitters at 6 inch spacing
up to about 25 feet of 1/4 inch drip line with emitters at 9 inch spacing
up to about 34 feet of 1/4 inch drip line with emitters at 12 inch spacing
Below is a rough sketch of a small garden layout using 1/4 inch drip line at 6″ spacing.
Step 6: Run Supply Lines
You can use a hose thread (not pipe thread) connector to attach your line(s) directly to your hose end water controller. The end of the hose can be bent back or capped off. You can buy the 1/2 inch blank supply lines in 100′ rolls. You can also buy 1/4″ blank tubing to run from your 1/2″ supply line to your drip line. Or you might want to use 1/4″ blank tubing to bridge a walkway or go up to a container planting.Step 7: Install Drip Lines
Step 8: Test For Leaks and Adjust
Check your whole system for leaks and make sure that all the drip lines are dripping. Test the irrigation controller and play around with the length of time it takes to adequately water your garden. You will need to adjust the duration to match your soil, weather, mulch and type of vegetables. A good starting point would be 1 hour every three days assuming the weather is warm and dry.
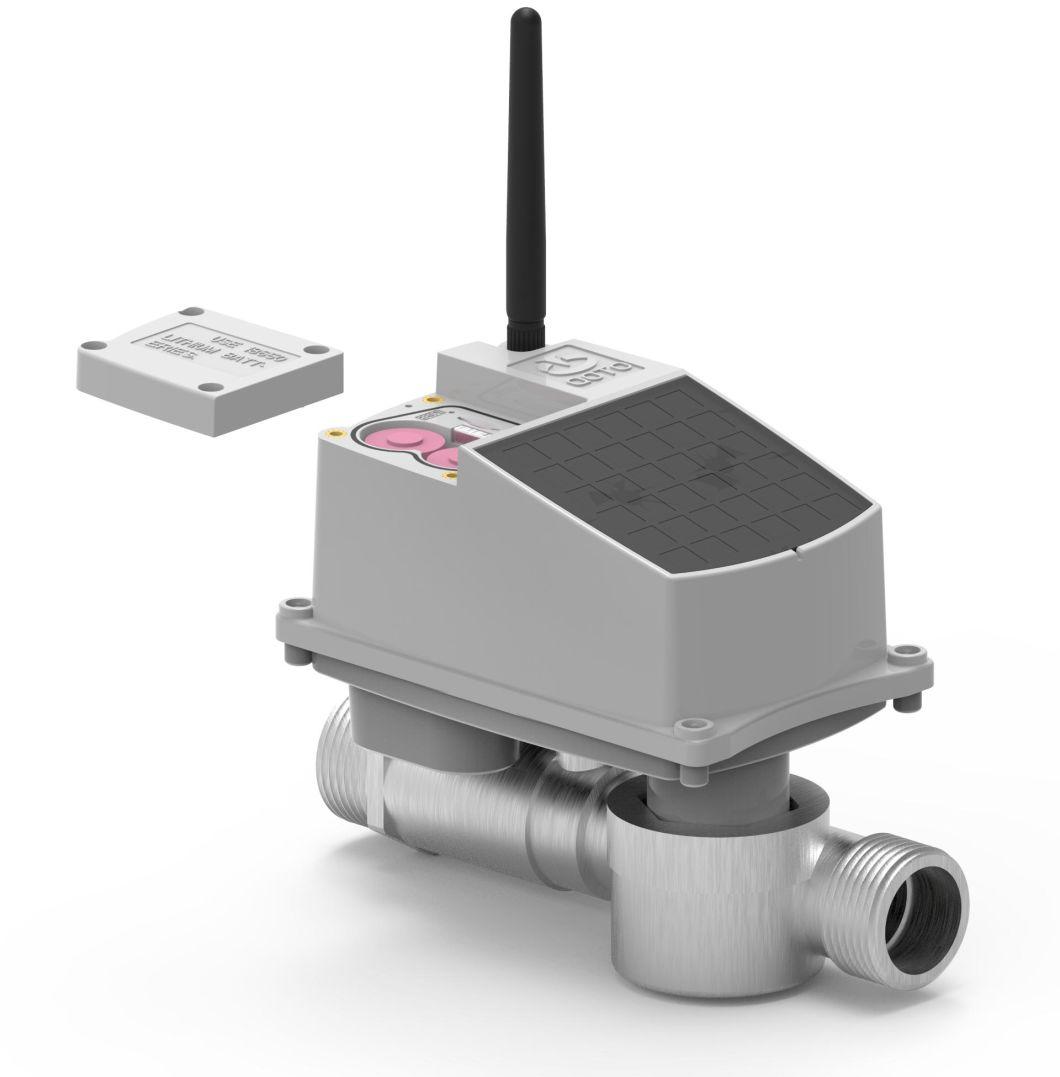
App Introduction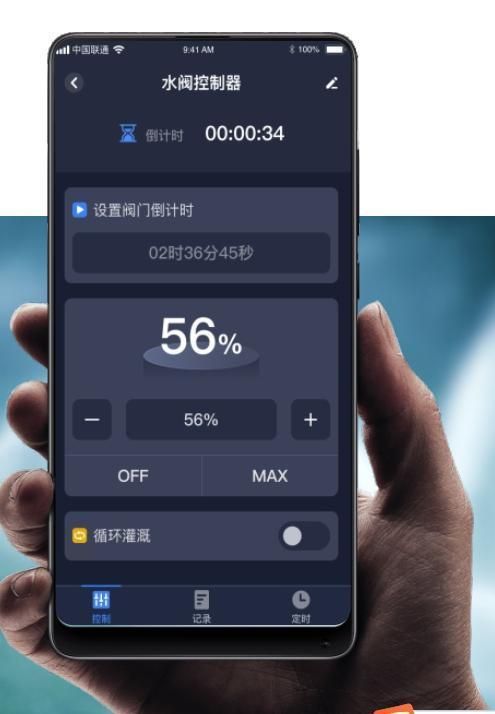
1,Remote control by Mobile phone or PC computer 2,Control the valve position by percentage 3,Irrigation water capacity setting, to control water consumption 4,Malfunction warning,water shortage warning(work with flow meter),low power warning etc,to provide secure user experience 5,When it start watering, the real-time feedback of consumption and time will reflect on the App(work with flow meter) 6,Power supply solution: powered by solar panel+lead acid batteries,green and environment-friendly 7,Timing function 8,Circular irrigation 9,Push notification of device 10,When the Internet is cut, the controller will keep watering according to schedule once the timing program is set. 11,Record of each water consumption and duration each month irrigation in rainy and snowy weather 13,Lora/NB-iot/4G optional commication protocol 14,Sharing devics function 15,Intelligent interconnect function 16,Signal strength indicate